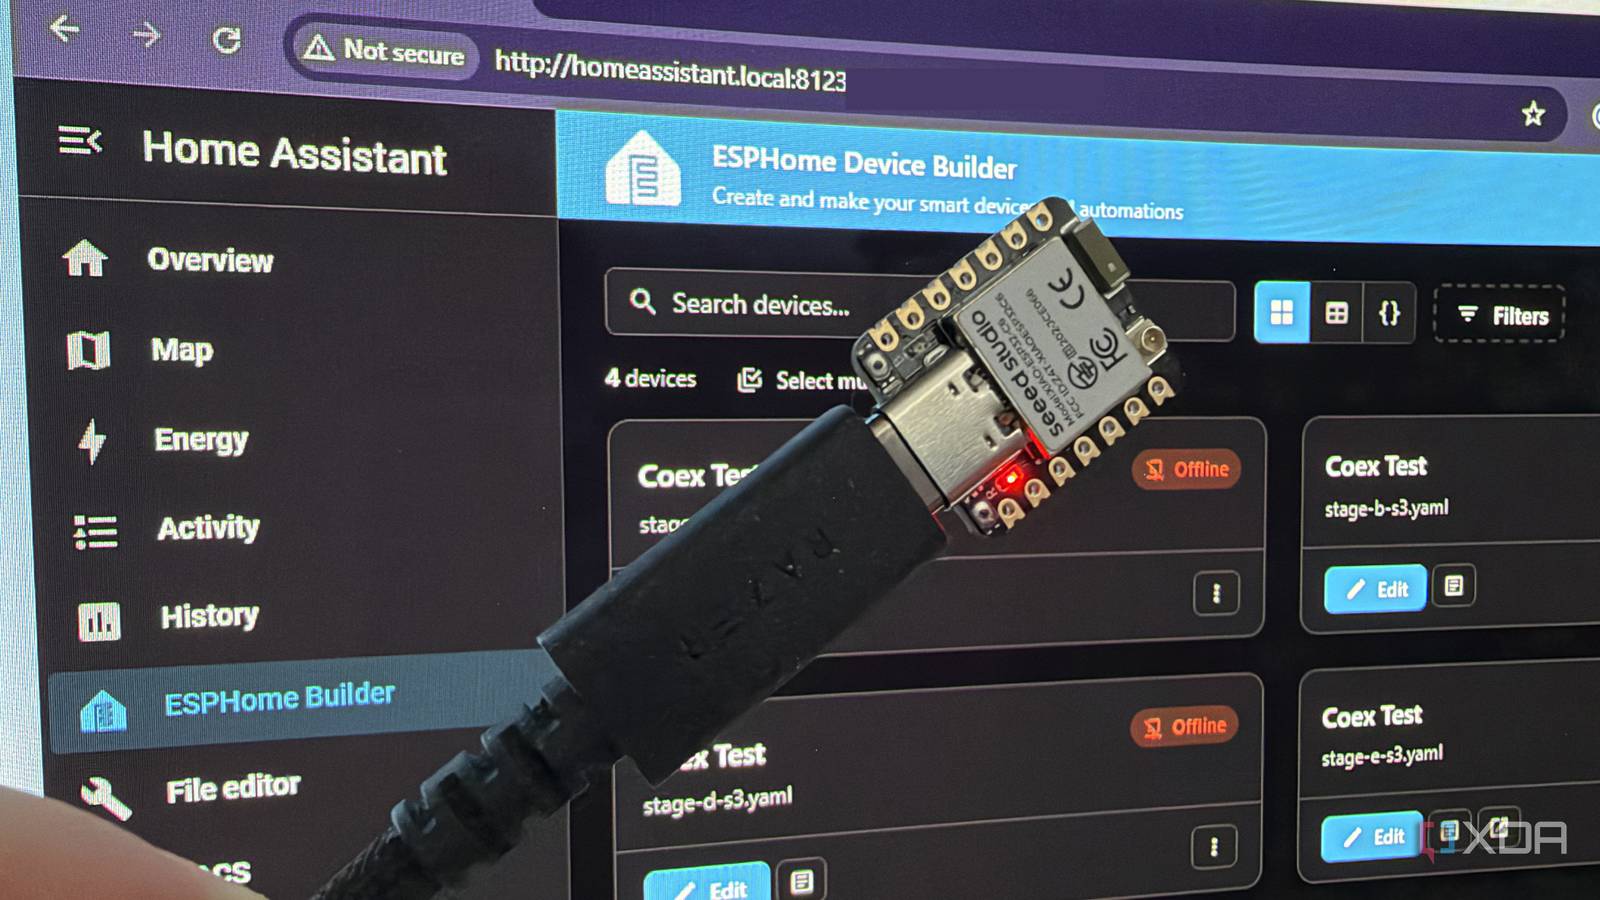
Every ESP32 sensor I’ve built for my smart home has the same lines at the top of its config: a Wi-Fi block, an API key, and yet another IP address on my network. The board on my desk right now has none of them. It’s a Seeed XIAO ESP32-C6 running ESPHome, and Home Assistant’s ESPHome integration will never see it, because it doesn’t use Wi-Fi.
It uses Zigbee instead. It’s one of the reasons I always say to start your ESP32 journey with the C6. It’s also why the ESP32-C6 is the board to buy for any smart home project, because not all ESP32 boards are the same and most of them lack this radio. ESPHome’s October release makes it worth flashing. There’s a catch, but it isn’t on the ESP32 end.
ESPHome 2026.10 makes the ESP32-C6 a real Zigbee device
October added the clusters that make coordinators treat it like a retail device

Zigbee runs on an IEEE 802.15.4 radio, the same one Thread uses. ESPHome’s docs list three ESP32 chips with one today: the ESP32-C5, ESP32-C6, and ESP32-H2.
ESPHome’s Zigbee support started on Nordic’s nRF52 chips in 2026.1.0, then reached ESP32 in 2026.5.0, when developer luar123’s standalone zigbee_esphome component was ported into core. The pull request that brought it over added Zigbee binary sensors on the ESP32-H2 and C6, and the same release added sensors. You could report things, but you couldn’t control anything.
ESPHome 2026.10.0 adds switch and number support on ESP32, plus a new cluster: device_class option. By default, ESPHome hands a sensor to Zigbee as a generic Analog Input, which is a value with a text description attached. With device_class, a temperature sensor uses the standard ZCL Temperature Measurement cluster instead, and the same goes for humidity, pressure, illuminance, PM2.5, CO2, and occupancy. According to the pull request, it integrates better with ZHA and Zigbee2MQTT, and an ESPHome sensor could even be bound directly to a third-party Zigbee thermostat.
It isn’t free. Entities on these standard clusters, including a switch using the on_off cluster, don’t send their ESPHome names over Zigbee, so you’ll rename them in Home Assistant. And the docs’ supported list stops at binary sensors, sensors, switches, and numbers, so lights and covers are out for now.
Building a Zigbee end device in Device Builder with no Wi-Fi block at all
ESPHome 2026.10.2 compiled it first time
The tester device was built in ESPHome Device Builder inside Home Assistant, on ESPHome 2026.10.2. You create a new device, pick ESP32-C6, skip the default install, and throw away almost everything it generated. I’d love to say I did that cleanly, but I first pasted my YAML into the Arduino IDE (force of habit), which read every comment as a C preprocessor directive and choked with “invalid preprocessing directive #XIAO”.
I took the Wi-Fi and API blocks out completely, so every update now goes over USB. The docs say Wi-Fi and a Zigbee end device can run side by side, but I wanted one radio and no IP address. Here’s the core of what replaces them:
zigbee:
model: esphome-xiao-c6
binary_sensor:
- platform: gpio
name: Boot Button
pin:
number: GPIO9
mode:
input: true
pullup: true
inverted: true
report: force
endpoint: 1
switch:
- platform: gpio
name: User LED
pin:
number: GPIO15
inverted: true
cluster: on_off
endpoint: 2
sensor:
- platform: internal_temperature
name: Chip Temperature
cluster: device_class
endpoint: 3
The first compile downloaded ESP-IDF 5.5.6 and the RISC-V toolchain before working through 934 build steps, and it still only took a couple of minutes. Flashing happens from Chrome over USB, so the Home Assistant VM never needs to see the board.

|
Metric |
Result |
|---|---|
|
Firmware image |
531,880 bytes |
|
App partition used |
30.1% |
|
RAM used |
18.8% |
|
Zigbee stack setup |
63 ms |
|
Join retry interval, no coordinator |
About 5 seconds |
Expect two compile warnings about GPIO9 and GPIO15 being strapping pins, plus a boot-log nudge to add flash_chip: generic to save IRAM. None of them stopped the build from progressing.
I put three entity types on three endpoints to prove it works
At DEBUG level, the boot log shows what the device offers a coordinator. The button lands on Endpoint 1 as cluster 0x000F, Binary Input. The LED sits on Endpoint 2 as 0x0006, On/Off, and the temperature sensor is on Endpoint 3 as 0x0402, Temperature Measurement.
Then the log reads “Start network steering”, followed by “Failed to join network with status(0x03)” about every five seconds. It’s a device shouting into an empty room, which is exactly what should happen without a coordinator.
My BOOT button looked dead, and it had been working the whole time
Then I pressed the BOOT button, and nothing appeared in the log. I spent a quarter of an hour ruling out a crash, a stalled main loop, and the strapping pin’s interrupt mode, and at one point I confidently diagnosed a crash that was me pressing the reset button. Holding BOOT while tapping reset dropped the chip into download mode, so the button was wired fine.
I’m not quite sure why the build wasn’t printing the usual state-change lines into the log. It was working, other than that, and that’s really all that mattered to me.
The coordinator’s side looks slightly different
ZHA and Zigbee2MQTT are the only two ways in
You need a coordinator like ZHA or Zigbee2MQTT, and other commercial hubs most likely don’t support ESPHome devices. My Home Assistant install has neither, which is fine since I was testing endpoint device creation, and not commissioning. I’ll pick one up at some point since I plan to put Zigbee relays inside all my non-smart light switches.
My first thought was that my eero Pro 6E routers have Zigbee built in. That idea lasted about five minutes. eero’s support page says you activate the hub by linking your eero and Amazon accounts, then connect devices through the Alexa app, and I couldn’t find a single forum thread where someone got eero-paired devices into Home Assistant.
So the C6 needs a real coordinator, and the shape matters if Home Assistant runs as a VM. A network coordinator like the $73 SMLIGHT SLZB-06M connects over Ethernet and skips USB passthrough. A USB stick like the $25 Sonoff ZBDongle-E or the $88 Home Assistant Connect ZBT-2 has to be passed through to the VM instead. Either way, setting up Home Assistant with Zigbee is its own project.
Pairing is simple on paper, but every YAML change means starting over
Going by the docs, pairing is the usual routine of opening permit-join and letting the device’s steering loop find the coordinator. Zigbee2MQTT should be version 2.8.0 or newer, because on older versions names can’t contain spaces and the device needs at least two endpoints. My three endpoints would cover that anyway.
The bigger rule is about iteration. Whenever the config changes, especially when entities are added, removed, or renamed, the docs say to remove the device and re-add it, with a fresh interview on Zigbee2MQTT. They also warn that a changed config can occasionally cause boot loops, and on ESP32 the documented fix is erasing the flash. For everyday re-pairing, my YAML maps a five-second BOOT hold to a Zigbee factory reset, which leaves the network cleanly.
The ESP32-C6 is a natural starting point for creating your own Zigbee devices
For $12, the Seeed XIAO ESP32-C6 now builds a Zigbee end device from one YAML file, with real measurement clusters and with 70% of its app partition to spare. Getting the ESP32 side working took one evening, and most of that was me misreading a quiet log. If you only want Zigbee, ESPHome’s docs say the ESP32-H2 seems to work more reliably.
I’d still start with the C6, because the same board can be a Wi-Fi sensor, a Thread device, or a Zigbee end device depending on what you flash. Next, I’m putting a coordinator on the network, then moving it to battery power with a real temperature and humidity sensor. If you’ve got a C6 sitting in a drawer, ESPHome 2026.10 is a good reason to dig it out.